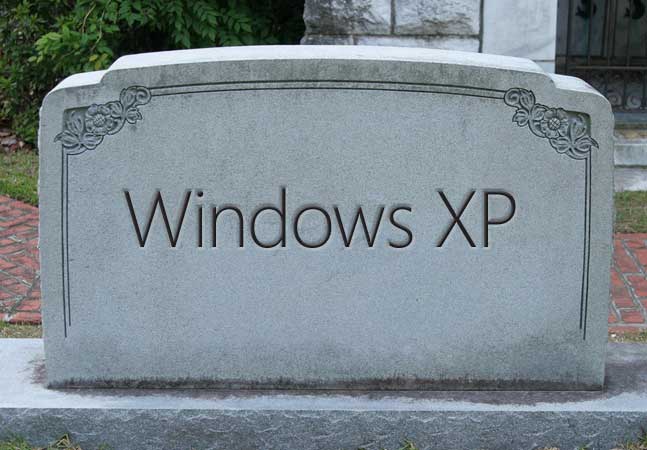
The only OS that I have a genuine installation from, is a Windows XP CD that I once found lying next to a discarded desktop. The installation still works perfectly, the product key is all there, but as well know: Windows XP is no longer supported and after 30 days, you need to activate the copy by internet or phone (which is no longer possible).
Still, there is a solution:
This is definitely not my creation, I simply found it by Googling the webs, but I just tried it out and it appears to be working. If this post is over 30 days old and I have not deleted it, it works like a charm!
Have a look at:
- How to Activate Windows XP Without a Genuine Product Key (American Computer Enterprises)
- version on WikiHow with screenshots
- version on TechnoTrait
In case any of these links no longer work, here is a copy of the text, as copied from the WikiHow-version:
1
Press .⊞ Win+R and type regedit.
2
Click "File" → "Export" and save a copy of your registry in case something goes wrong.
3
4
Double-click .OOBETimer and delete all of the values.
5
Type .FF D5 71 D6 8B 6A 8D 6F D5 33 93 FD and save the changes.
9
If you see that it says "Windows is already activated" then you have done this correctly.
This is where all was done in my situation, I rebooted my computer and continued my happy testing.
But in case it has not worked for you, you can try these extra steps:
10
Click "Activate on the Phone" and then "Change Product Key".
11
Enter .THMPV 77D6F 94376 8HGKG VRDRQ as the product key.
12
Click the "Update" button and then select "Remind me later".
13
Restart your computer.
14
Press .⊞ Win+R, type %system and press ↵ Enter.
That should be it!
Once again, this is not my tutorial, I found it on WikiHow.com and the first part worked perfectly for me. I am simply sharing it to make sure it doesn't get lost.
Side-note: I have no idea why step 14 has been included in this tutorial. As far as I understand, it is a mistake as running %system does not do anything. Maybe it is a way of the original author to prove that somebody copied the tutorial from his/her website. Anyway, I included it for completion sake.
Side-note: I have no idea why step 14 has been included in this tutorial. As far as I understand, it is a mistake as running %system does not do anything. Maybe it is a way of the original author to prove that somebody copied the tutorial from his/her website. Anyway, I included it for completion sake.


No comments:
Post a Comment